Do you know, you can start working on hardware projects without needing to write a lot of code? Using Node-Red is the answer. This tool makes it easy to send commands and set up what you want your project to do, just by drawing it out.
First, make sure everything is set up right and connect your Arduino. Then, you can start making your first project. With Node-RED’s easy-to-use design, you can quickly fix problems or add new features.
The best part about using Node-RED and Arduino together is how many different things you can try out, making your electronics projects more exciting and less about dealing with complex code.
Key Takeaways
- Node-RED’s drag-and-drop interface lets you create Arduino projects without writing code.
- Leveraging Node.js, Node-RED enhances Arduino’s capabilities for complex projects.
- Real-time debugging in Node-RED simplifies troubleshooting, making project development smoother.
- Integration with web services expands Arduino’s functionality, all achievable without coding.
Understanding Node-RED
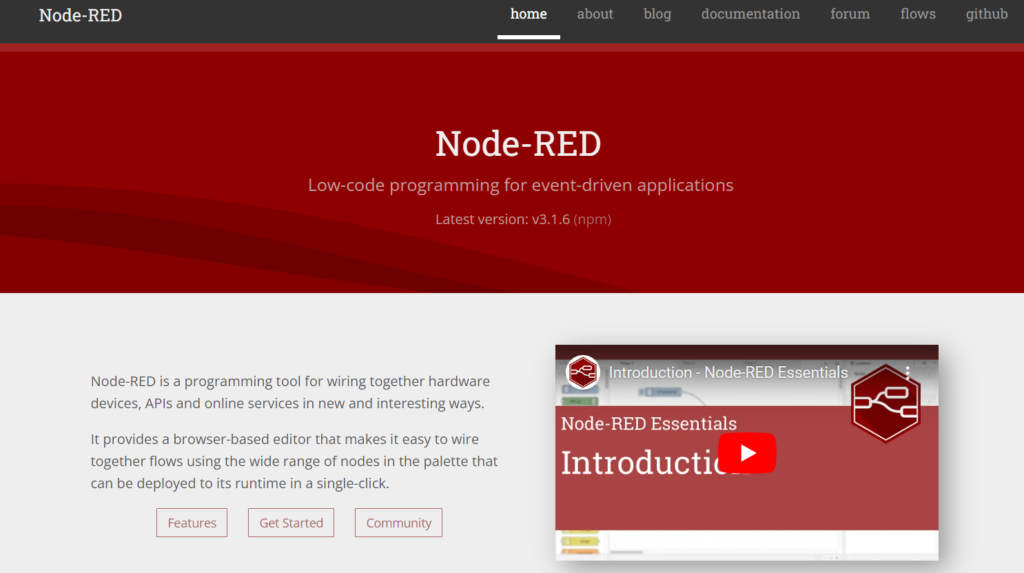
Node-RED is a cool tool that lets you build complex projects easily by connecting things like gadgets, websites, and online services. Think of it as a new way to play with technology, making it possible for you to create stuff that seemed too hard before.
Picture this: you’re moving around little blocks on your screen, each block is something like a device or a service, and you’re connecting them with lines. This way, you’re setting up how they should work together. It’s simple and doesn’t require you to be a computer whiz
You don’t have to worry about typing codes correctly or learning a lot of technical stuff. Node-RED talks in a way that’s easy for everyone to understand.
This tool uses Node.js, which means it’s really strong and can handle big projects without a sweat. Whether you’re making your home smarter, gathering information, or playing with robots, Node-RED is like a magic key to being creative.
Setting Up Your Environment
Getting ready to work with Node-RED is easier than you might think. Here’s a simple guide to help you get started on making cool projects without needing to learn a lot of coding. Here are the things you need:
- A computer with internet: This is where you’ll set up Node-RED and work on your projects.
- Node.js: Before you can use Node-RED, you need to install Node.js. It’s free and works on any computer like Windows, Mac, or Linux.
- Node-RED: After installing Node.js, you can add Node-RED with just one easy command on your computer.
- An Arduino board: To make projects that interact with the real world, you need an Arduino. Any model will work, so choose one that fits what you want to do.
Getting all these parts ready helps you start making projects. It’s not just about installing software; it’s about making it possible to create cool things without being stopped by complicated coding.
It’s for having fun, being flexible, and making your ideas real with fewer obstacles.
Connecting Arduino to Node-RED
Setting up your Arduino to work with Node-RED is easier than you might think and you don’t need to be a coding expert. This step is key to making your projects come alive.
Start by connecting your Arduino to your computer with a USB cable. This is how your Arduino will talk to Node-RED. Next, you need to add some special parts, called nodes, to Node-RED so it can chat with your Arduino. You can find these by going to the ‘Manage palette’ option in Node-RED and looking for a node like `node-red-contrib-gpio`.
Once you’ve got that node set up, you’re ready to link your Arduino with Node-RED. Just pull the Arduino node into your workspace and pick the right serial port.
Doing this creates a path for information to move between your Arduino and Node-RED easily.
Designing Your First Flow
When you’ve got your Arduino all hooked up, the next step is to create your first flow in Node-RED. This is a fun part where you get to put your project ideas into action without needing to write code.
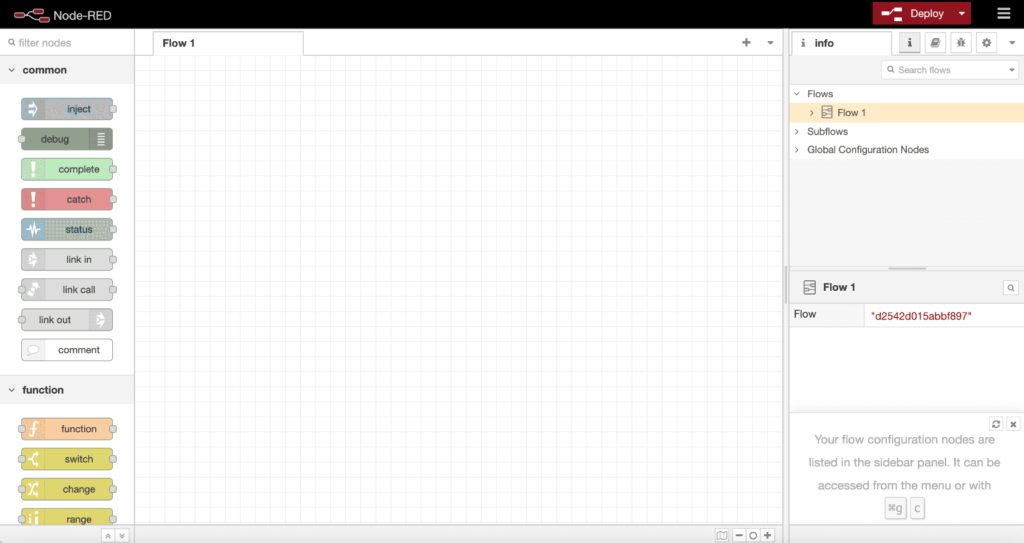
Node-RED has this cool, easy-to-use setup where you can pick different parts of your project, like the inputs and outputs from your Arduino, and link them up with other bits that do the thinking and controlling.
Here are some key things to keep in mind:
- Drag-and-drop nodes: You can choose from lots of ready-made bits for your project, like parts for sensors, things that move (actuators), timers, and bits that make decisions (logic operators). Just drag them onto your work area to start piecing your project together.
- Wiring nodes together: Connect these bits by drawing lines between them. This is how you tell your project how to move data around and what should happen in what order. It’s like drawing a map for your project’s brain.
- Configuring nodes: If you click on any bit twice, you can tell it exactly what to do. This might mean telling it which pin on your Arduino should listen to a sensor, or how often it should check for new data.
- Debugging tools: There are special bits you can use to check if everything is working right. These help you see what’s happening in your project live, so you can make sure everything is running smoothly and fix anything that’s not.
Deploying and Testing Projects
After making your first flow in Node-RED, it’s really important to know how to get your projects up and running and to check they work right.
You’ll learn how to do this step by step, deal with any common problems that come up, and get ideas from examples of how people use this in real life.
This helps make sure your Arduino projects work well and can handle different situations.
Project Deployment Steps
To get your project working well with Arduino and Node-RED, here are simple steps to follow. Make sure everything works together perfectly:
- Connect your Arduino board properly to your computer or Raspberry Pi.
- Get the Node-RED libraries you need for Arduino, like node-red-contrib-gpio.
- Make your project in Node-RED by moving nodes around to set up what you want to do.
- Start your project by hitting the deploy button in Node-RED, and watch the debug tab to see how it’s doing.
Troubleshooting Common Issues
After you’ve set up your Arduino and Node-RED project, you might run into some problems that need fixing.
First, if your project isn’t working, make sure to check the serial port settings in Node-RED. Often, mistakes here cause trouble.
Also, check if your Arduino is getting power and is connected right. Sometimes, just plugging the cable in again helps.
Next, look over your Node-RED setups. If nodes or the way they’re connected (flows) are not set up right, your project might not do what you want. Use debug nodes to figure out where things are going wrong.
Even though you’re not coding in the traditional sense, you still need to think through the logic of how your project works.
Fixing these problems step by step will help your creative ideas work out, making your experience with Arduino and Node-RED enjoyable and successful.
Real-World Application Examples
Taking your Node-RED and Arduino projects from just ideas to solving real problems means setting them up to interact with the real world.
- Automated Home Systems: Make your home smarter by controlling lights, and temperature, and keeping it safe with easy-to-use setups.
- Environmental Monitoring: Use sensors to keep an eye on things like air quality, temperature, and moisture in the air, all in real-time.
- Smart Agriculture: Set up systems to water plants just right and check the soil to help plants grow better.
- Personal Health Devices: Build gadgets that keep track of heart rate or remind people to take their medicine.
This way, you’re making things that help in everyday life, using Node-RED and Arduino to make it happen.
Troubleshooting Common Issues
Even if you’ve been using Arduino and Node-RED for a while, sometimes things don’t go as planned. But don’t worry, this happens to everyone. Knowing what often goes wrong and how to fix it helps you keep having fun with your projects.
If your Arduino and Node-RED aren’t talking to each other, check your serial port settings. It’s an easy step, but easy to forget. Make sure the port settings are right in the Arduino software and in Node-RED’s serial part.
If Node-RED isn’t noticing your Arduino, make sure you’ve got all the right Arduino libraries and Node-RED nodes. If you’re missing any, it can mess things up.
Seeing delays in data moving back and forth? It might be because the baud rates don’t match. The baud rate in your Arduino code should be the same as the one in Node-RED’s serial part. Keeping these the same makes everything run smoothly.
And don’t forget, online forums and community sites are full of helpful info. If you’re stuck, someone else might have had the same problem and found a way to fix it. Share what’s going wrong, and you might find a fix fast.
Conclusion
You’ve seen how Node-RED makes working with Arduino easier, so you don’t have to know a lot about coding. By setting up your space and connecting Arduino to Node-RED, you’ve entered a new world.
Here, making, putting out, and checking projects is as simple as moving pieces around. If you run into problems, it’s just part of learning. With Node-RED, you’re not just skipping coding; you’re making things faster. Jump in and turn your ideas into real things without needing to code.

