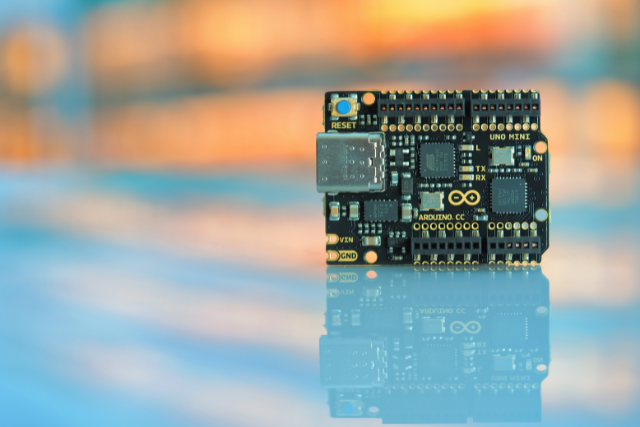
The Arduino Integrated Development Environment (IDE) is an essential tool for writing, compiling and uploading code onto any Arduino board.
Setting it up properly will give you the full functionality to start programming your Arduino projects. Follow this step-by-step guide to install and configure the Arduino IDE on your computer.

What You’ll Need
- An Arduino board (Uno, Nano, Mega, etc)
- A USB A/B cable to connect the Arduino board to your computer
- The Arduino IDE software installed on your computer
How to Set Up the Arduino IDE
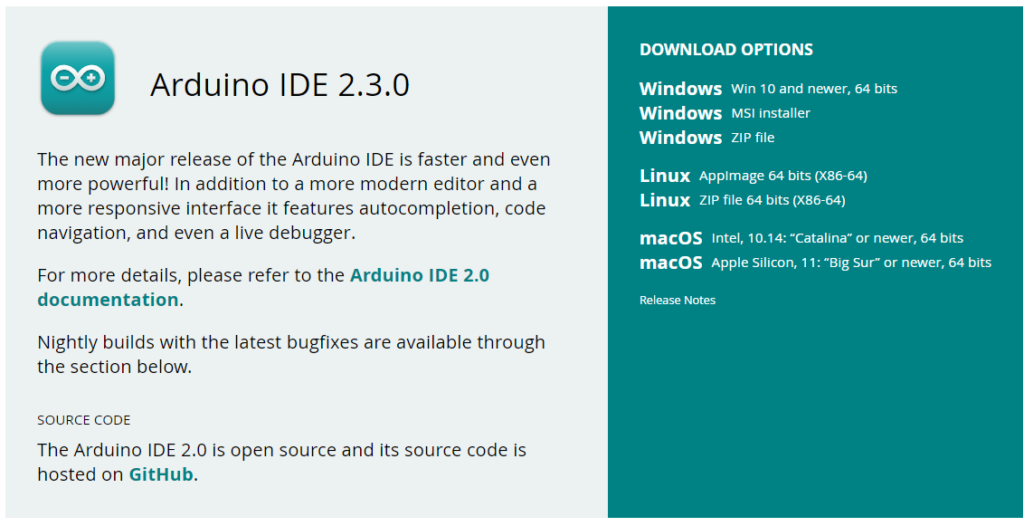
Step 1 – Download and Install the Arduino IDE. Go to the official Arduino website and navigate to the Software page. Here, you’ll find installers for the latest version of the Arduino IDE for Windows, Mac or Linux operating systems.
Download the appropriate IDE installer for your computer’s OS. Once downloaded, run the installer and follow the steps to finish installing the Arduino IDE.
Step 2 – Launch the Arduino IDE. Locate the Arduino IDE on your computer and launch it. When you first open the IDE, you may need to make some initial selections in the pop-up windows:
- Language – Select your preferred interface language
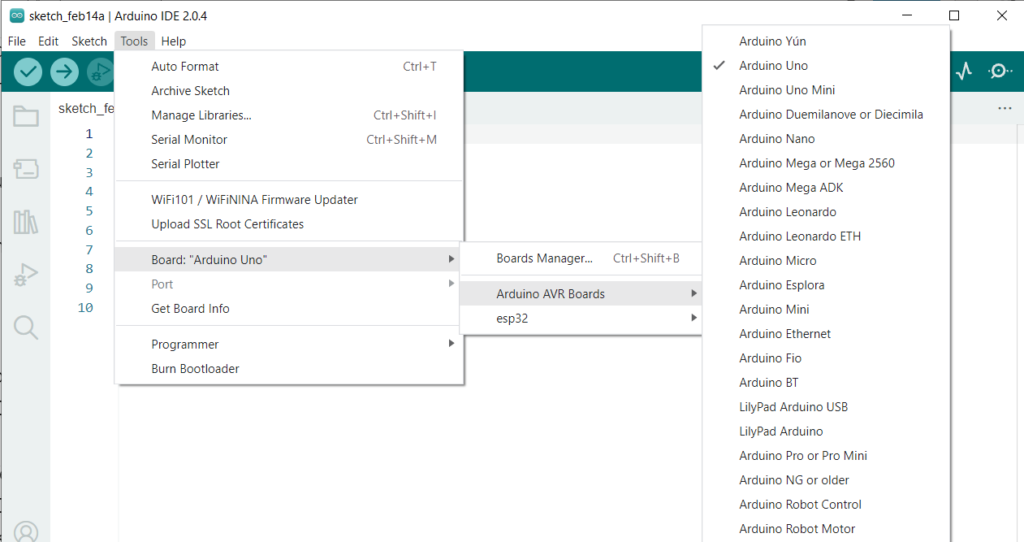
- Board Type – Select the model of your Arduino board
- Port – Select the COM port that your Arduino is connected to
The exact options may vary depending on your operating system. Refer to the IDE’s getting started guide for help making these selections.
Step 3 – Install Drivers You’ll need the drivers for your specific Arduino model installed so your computer can interface with the board. Most boards require additional drivers, so install these before going further.
On Windows, drivers can be installed via the Device Manager. On Mac, this is done through the Arduino IDE preferences. Consult your board’s documentation for exact driver installation steps.
Step 4 – Verify the Port Double-check that the correct port is selected under Tools > Port in the Arduino IDE menu. On Windows, this will be a COM port. On Mac, it will be a /dev/cu.usbmodemXXX port.
This is the communication interface where your computer talks to the physical Arduino board. Verify it is showing the expected port before uploading any code.
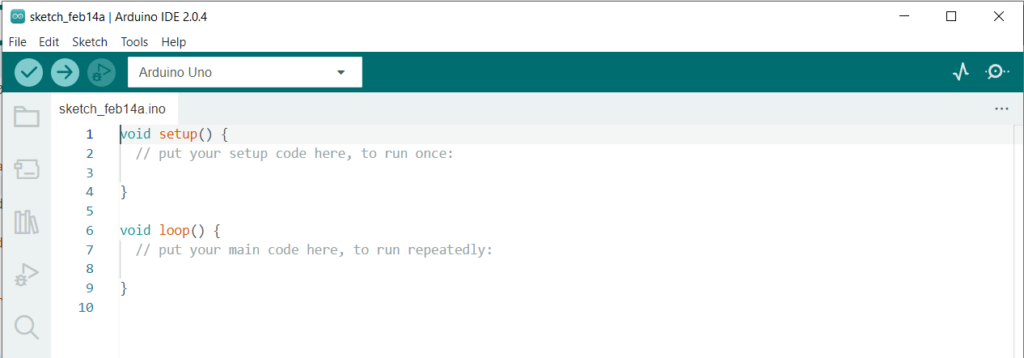
Step 5 – Run a Test Sketch. It’s time to run your first Arduino sketch to confirm everything is set up properly. In the Arduino IDE, go to File > Examples > Basics and select “Blink”.
This simple sketch will flash an onboard LED on and off repeatedly. Make sure your Arduino is connected to your computer via USB. Then click the “Upload” button to compile and upload the code.
If successful, the RX and TX LEDs will flash on the Arduino as the code uploads. The onboard LED should start blinking to confirm your IDE is set up correctly.
Troubleshooting Setup Issues
If the test sketch fails to upload or run, here are some common issues to check:
- The wrong board was selected. Double-check that you have the correct model set under Tools > Board.
- COM port not selected – Verify the proper port is chosen under Tools > Port.
- Driver not installed – Install the required drivers for your board if missing.
- Loose USB connection – Check that the USB cable between the PC and Arduino is securely plugged in.
- Port conflict – Make sure no other program uses the same COM port as the Arduino.
With the Arduino IDE downloaded and configured properly, you can start writing and uploading code to your Arduino board!
Check for any available IDE updates periodically to get bug fixes and new features.
Read more at Arduino Tutorial: How to Get Started With Arduino Projects

