In this Arduino tutorial, I will guide you through setting up the Arduino IDE (Integrated Development Environment) and installing the necessary libraries for Arduino programming. I will also cover connecting an Arduino board to your computer and selecting the correct board and port in the IDE.
What is Arduino?
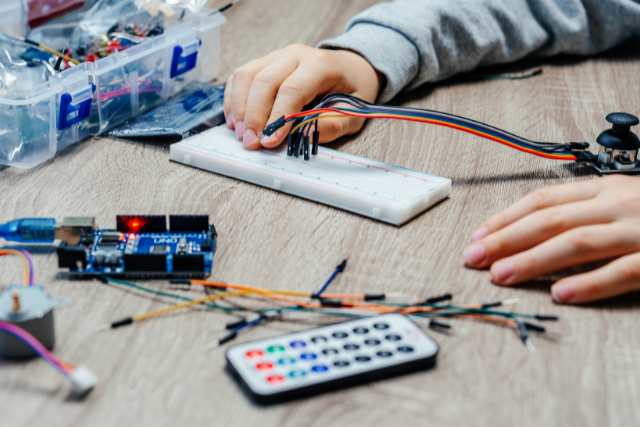
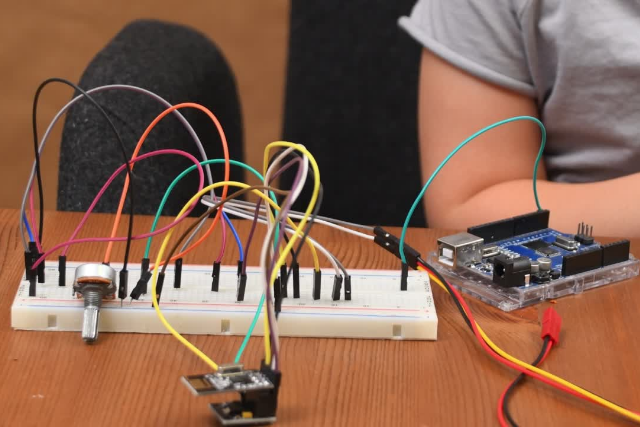
Arduino is an open-source electronics platform based on easy-to-use hardware and software. It is designed for artists, designers, hobbyists, and anyone interested in creating interactive projects.
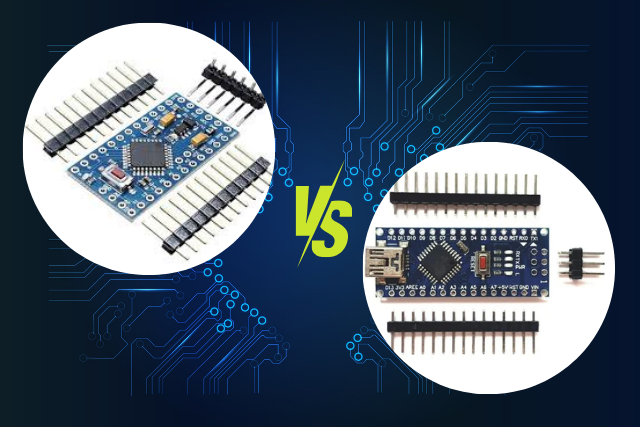
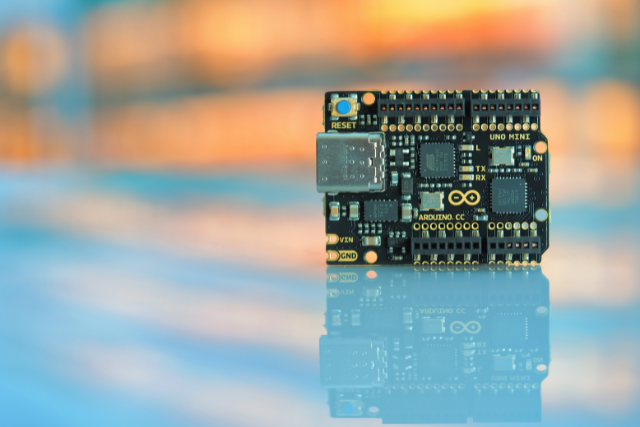
Arduino boards are equipped with microcontrollers that can be programmed to control various electronic devices such as sensors, motors, and lights. Arduino boards are widely used in various fields such as robotics, automation, and Internet of Things (IoT) applications.
They are easy to use and can be programmed using a simple programming language. Arduino boards are also affordable, making them accessible to many users.
What is Arduino IDE?
Arduino IDE stands for Arduino Integrated Development Environment. It is a software application used to write and upload code to Arduino boards.
The IDE provides a user-friendly interface for writing and editing code, as well as a platform for compiling and uploading the code to the Arduino board.The Arduino IDE is open-source and can be downloaded for free from the Arduino website.
It is available for Windows, Mac, and Linux operating systems. The IDE includes a code editor, a serial monitor, and a library manager. The code editor provides syntax highlighting and auto-completion, making it easier to write and edit code.
The serial monitor allows users to communicate with the Arduino board and view the code output. The library manager provides access to a vast collection of pre-written code that can be used to simplify the development process.
The Arduino IDE is designed to be user-friendly and accessible to beginners. It provides a simple and intuitive interface for writing and uploading code, making it an excellent tool for learning programming and electronics.
This highly customizable IDE allows users to add new libraries and tools to enhance their development experience.
Step 1: Download and Install Arduino IDE
- Go to the official Arduino website at https://www.arduino.cc and navigate to the “Software” section.
- Download the Arduino IDE for your operating system (Windows, macOS, or Linux).
- Once the download is complete, run the installer and follow the on-screen instructions to install the Arduino IDE.
Step 2: Connect Arduino Board to Computer
- Connect your Arduino board to your computer using a USB cable.
- Ensure that the board is properly powered (USB or an external power supply if required).
Step 3: Launch Arduino IDE
- Open the Arduino IDE that you installed in Step 1.
- You should see the Arduino IDE window with a blank sketch.
Step 4: Install Arduino Board Drivers (if necessary)
- In most cases, the Arduino IDE will automatically detect and install the necessary drivers for your board. However, if the board is not recognized, you may need to install the drivers manually.
- Visit the manufacturer’s or Arduino websites for instructions on installing the board-specific drivers.
Step 5: Select the Arduino Board and Port
- In the Arduino IDE, click on the “Tools” menu.
- Select the appropriate board from the “Board” submenu. For example, if you are using an Arduino Uno, select “Arduino Uno.”
- Go back to the “Tools” menu and select the appropriate port from the “Port” submenu. The port will usually have the name of your Arduino board and the connected USB port number.
Step 6: Install Arduino Libraries
- Arduino libraries are pre-written code that provides additional functionality for various components and modules.
- To install a library, go to the “Sketch” menu, select “Include Library,” and then click on “Manage Libraries.”
- The Library Manager window will open, allowing you to search for and install libraries.
- Type the name of the library you want to install in the search bar and click on the library from the search results.
- Click the “Install” button to install the library.
- Repeat this process for any additional libraries you want to install.
Congratulations! You have successfully set up the Arduino IDE, connected your Arduino board to your computer, and installed the necessary libraries. You are now ready to start programming your Arduino board.
Note: Refer to the specific documentation and examples provided by the library authors to understand how to use the installed libraries in your Arduino projects.
Happy coding!
Blinking an LED
Let’s learn how to write a simple Arduino program to blink an LED. We will cover the necessary circuit diagram, explain the code logic behind turning the LED on and off at a specific interval, and provide the complete code.
Prerequisites
Before we begin, ensure you have completed the first task of setting up the Arduino IDE and connecting the Arduino board to your computer.
Circuit Diagram
To blink an LED, we will connect an LED to one of the digital pins of the Arduino board. Follow the circuit diagram below to set up the circuit:
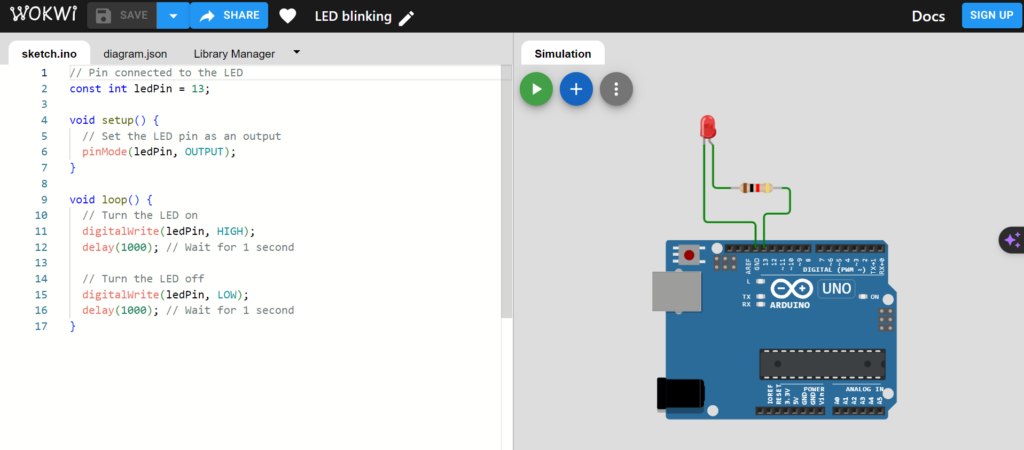
Connect the LED’s longer leg (anode) to digital pin 13 (D13) on the Arduino board. Connect the LED’s shorter leg (cathode) to the ground (GND) pin on the Arduino board.
Code Logic
The code logic behind blinking an LED is straightforward. We will use the pinMode() function to set the digital pin connected to the LED as an output. Then, we will use the digitalWrite() function to turn the LED on and off.
Code
Copy and paste the following code into your Arduino IDE:
// Pin connected to the LED
const int ledPin = 13;

void setup() {
  // Set the LED pin as an output
  pinMode(ledPin, OUTPUT);
}

void loop() {
  // Turn the LED on
  digitalWrite(ledPin, HIGH);
  delay(1000); // Wait for 1 second

  // Turn the LED off
  digitalWrite(ledPin, LOW);
  delay(1000); // Wait for 1 second
}Uploading the Code
To upload the code to the Arduino board, follow these steps:
- Connect your Arduino board to your computer using the USB cable.
- Open the Arduino IDE.
- Select the correct board by going to
Tools > Boardand choosing your Arduino board model. - Select the correct port by going to
Tools > Portand choose the port to which your Arduino board is connected. - Click on the “Upload” button (or press
Ctrl + U) to compile and upload the code to the Arduino board. - Wait for the upload process to complete. You should see a “Done uploading” message in the status bar.
Once the code is successfully uploaded, the LED connected to pin 13 on the Arduino board will start blinking at a 1-second interval.
Reading Sensor Data and Displaying it on an LCD Screen
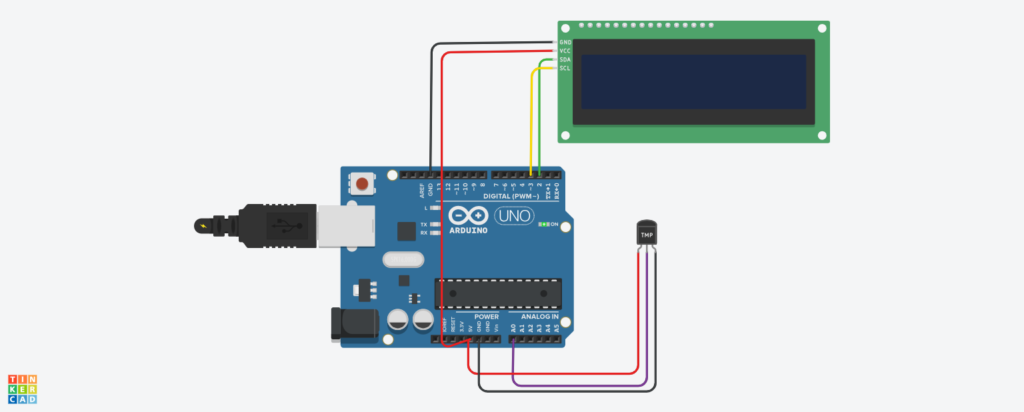
Let’s learn how to use Arduino to read data from a sensor and display it on an LCD screen. We will choose a temperature sensor as an example, but you can also apply the same principles to other sensors.
Components Required:
- Arduino board (e.g., Arduino Uno)
- Temperature sensor (e.g., LM35)
- LCD screen (e.g., 16×2 LCD)
- Breadboard
- Jumper wires
Circuit Diagram:
Installing the Required Libraries:
- Open the Arduino IDE.
- Go to “Sketch” > “Include Library” > “Manage Libraries”.
- In the Library Manager, search for “LiquidCrystal_I2C” and click on “Install” to install the library.
- Once the installation is complete, close the Library Manager.
Uploading the Code to Arduino:
- Open the Arduino IDE.
- Copy the code provided below.
- Connect your Arduino board to your computer using a USB cable.
- Select the correct board and port from the “Tools” menu.
- Click on the “Upload” button or press Ctrl+U to upload the code to the Arduino board.
Code
#include <Wire.h>
#include <LiquidCrystal_I2C.h>

LiquidCrystal_I2C lcd(0x27, 16, 2);  // Set the LCD I2C address and dimensions

const int temperaturePin = A0;  // Analog pin for temperature sensor

void setup() {
  lcd.begin(16, 2);  // Initialize the LCD
  lcd.backlight();   // Turn on the backlight

  lcd.print("Temperature:");  // Display initial message
}

void loop() {
  int sensorValue = analogRead(temperaturePin);  // Read the sensor value
  float temperature = (sensorValue / 1023.0) * 5.0 * 100.0;  // Convert sensor value to temperature in Celsius

  lcd.setCursor(0, 1);  // Set the cursor to the second line
  lcd.print("                ");  // Clear the second line
  lcd.setCursor(0, 1);  // Set the cursor to the second line
  lcd.print(temperature);  // Display the temperature

  delay(1000);  // Delay for 1 second
}Code Explanation:
- We start by including the necessary libraries:
Wire.hfor I2C communication andLiquidCrystal_I2C.hfor interfacing with the LCD screen. - We create an instance of the
LiquidCrystal_I2Cclass and initialize it with the I2C address of the LCD screen and its dimensions. - In the
setup()function, we initialize the LCD and turn on the backlight. We also display an initial message on the first line of the LCD screen. - In the
loop()function, we read the sensor value using theanalogRead()function and convert it to temperature in Celsius. - We then set the cursor to the second line of the LCD screen, clear the second line, and display the temperature.
- Finally, we add a delay of 1 second using the
delay()function to update the temperature reading at regular intervals.
Once you have uploaded the code to your Arduino board, you should see the temperature reading displayed on the LCD screen. Adjust the code and circuit connections according to the sensor you are using.
That’s it! You have successfully learned to use Arduino to read and display data from a sensor on an LCD screen. Feel free to experiment with different sensors and display formats to expand your projects.
Let’s say you want to display the temperature in Celsius and Fahrenheit on the LCD screen. you can modify the code as follows:
#include <Wire.h>
#include <LiquidCrystal_I2C.h>

LiquidCrystal_I2C lcd(0x27, 16, 2);  // Set the LCD I2C address and dimensions

const int temperaturePin = A0;  // Analog pin for temperature sensor

void setup() {
  lcd.begin(16, 2);  // Initialize the LCD
  lcd.backlight();   // Turn on the backlight

  lcd.print("Temp: C    F");  // Display initial message
}

void loop() {
  int sensorValue = analogRead(temperaturePin);  // Read the sensor value
  float voltage = sensorValue * (5.0 / 1023.0);  // Convert sensor value to voltage
  float celsius = voltage * 100.0;  // Convert voltage to temperature in Celsius
  float fahrenheit = (celsius * 9.0 / 5.0) + 32.0;  // Convert Celsius to Fahrenheit

  lcd.setCursor(6, 0);  // Set the cursor to the first line, column 6
  lcd.print(celsius, 1);  // Display the temperature in Celsius with 1 decimal place

  lcd.setCursor(6, 1);  // Set the cursor to the second line, column 6
  lcd.print(fahrenheit, 1);  // Display the temperature in Fahrenheit with 1 decimal place

  delay(1000);  // Delay for 1 second
}Upload the modified code to your Arduino board, and you should see both the Celsius and Fahrenheit temperature readings on the LCD screen.
You can modify the code to suit your requirements by changing the update interval or adding additional sensors. The possibilities are endless!
Now, let’s add a threshold and display a warning message when the temperature exceeds that threshold.
#include <Wire.h>
#include <LiquidCrystal_I2C.h>

LiquidCrystal_I2C lcd(0x27, 16, 2);  // Set the LCD I2C address and dimensions

const int temperaturePin = A0;  // Analog pin for temperature sensor
const float threshold = 30.0;  // Set the temperature threshold

void setup() {
  lcd.begin(16, 2);  // Initialize the LCD
  lcd.backlight();   // Turn on the backlight

  lcd.print("Temp: C    F");  // Display initial message
}

void loop() {
  int sensorValue = analogRead(temperaturePin);  // Read the sensor value
  float voltage = sensorValue * (5.0 / 1023.0);  // Convert sensor value to voltage
  float celsius = voltage * 100.0;  // Convert voltage to temperature in Celsius
  float fahrenheit = (celsius * 9.0 / 5.0) + 32.0;  // Convert Celsius to Fahrenheit

  lcd.setCursor(6, 0);  // Set the cursor to the first line, column 6
  lcd.print(celsius, 1);  // Display the temperature in Celsius with 1 decimal place

  lcd.setCursor(6, 1);  // Set the cursor to the second line, column 6
  lcd.print(fahrenheit, 1);  // Display the temperature in Fahrenheit with 1 decimal place

  if (celsius > threshold) {
    lcd.setCursor(0, 1);  // Set the cursor to the second line, column 0
    lcd.print("WARNING: High Temp!");  // Display warning message
  } else {
    lcd.setCursor(0, 1);  // Set the cursor to the second line, column 0
    lcd.print("                            ");  // Clear the warning message
  }

  delay(1000);  // Delay for 1 second
}Conclusion
Arduino is an excellent resource for anyone interested in electronics and programming. Arduino boards are affordable, easy to use, and versatile.
Moreover, Arduino programming is a fun and rewarding activity. With the Arduino platform, you can build your projects and bring your ideas to life. Many resources are available online to help you learn Arduino programming, including tutorials, forums, and project ideas.

